Japan Stigmatized Property 3 Mission Failure Rules
The exact budgets that end a 00:00–05:00 shift before dawn.
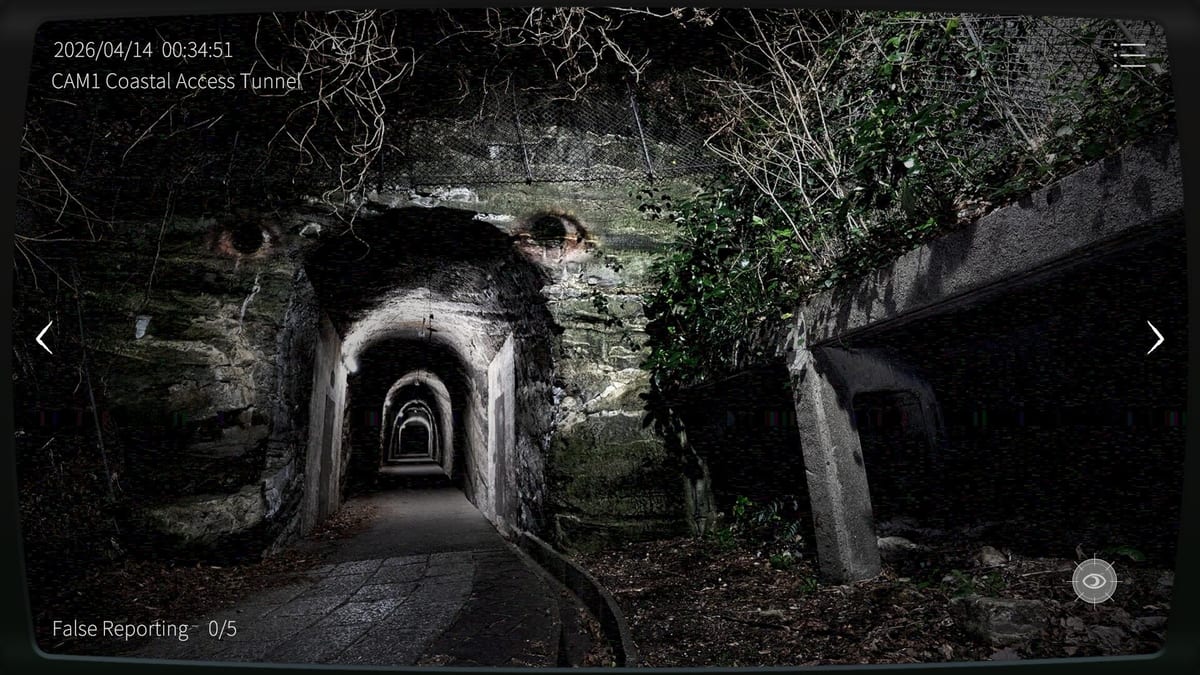
Two meters, one pink slip
Japan Stigmatized Property 3 ends a shift in two independent ways. Learn both, or you will keep blaming “RNG” for paperwork you signed yourself.
- Concurrent missed anomalies — if four anomalies are active and still unreported, the mission fails.
- False-report streak budget — five false reports on Normal; three on Hazard Pay (特別手当).
Community and prior-series training materials (including series wiki notes used by players moving into JSP3) describe the same fail shape. JSP3 keeps the association’s harsh HR policy while adding co-op pressure and denser property noise.
Winning still means lasting from 00:00 to 05:00 without tripping either meter. You do not need a glamorous zero-mistake VOD on Normal—you need to stay employed until morning.
Fail type A — four concurrent misses
Anomalies can stack while you tunnel-vision one hallway. The fourth unreported active anomaly is the pink slip. This is why A/D cadence and dual vision matter more than bravery.
Prevention habits:
- Run a fixed camera order; never “finish this interesting feed” while three others go cold
- On every camera: read standard, toggle W night vision, read again, then move (Night Vision Guide)
- When you hear knocks or moans, abandon cataloguing and find the hostile feed (Dangerous Anomalies)
- In co-op, split wings so two officers do not babysit the same quiet room (How to Co-op)
Some events only exist in one vision mode. Staying on night vision forever can hide standard-only threats until the concurrent counter cooks you. Mode-exclusive patterns: Vision-Mode Anomalies.
Full-feed covering anomalies sometimes allow reporting anywhere in the frame—still report immediately; “interesting composition” is not a strategy.
Fail type B — false reports
False reports are guesses, panic clicks, and baseline amnesia. Normal forgives five. Hazard Pay forgives three. Details and recovery drills live on False Reports and Hazard Pay.
Common self-owns:
- Reporting before flipping W when the scare was vision-mode exclusive
- Reporting furniture you never memorized at 00:05
- Double-reporting the same uncertain pixel with a co-op partner
- Tap-clicking instead of a clean hold-click, then “confirming” again (How to Report)
If you are unsure, finish the rotation once. A delayed real report is safer than a fashionable wrong one when your false budget is already at two on Hazard Pay.
How the meters interact
They do not cancel each other. Clearing your false-report anxiety with spam makes Fail B more likely while Fail A still ticks if you ignore other cameras. Conversely, slow perfectionism on one feed invites Fail A. The skilled middle path is verified reports at rotation speed—not frozen contemplation and not spray.
Difficulty choice is a fail-budget choice
| Difficulty | False-report budget | Typical pressure |
|---|---|---|
| Normal | 5 | Learn baselines and vision toggles |
| Hazard Pay / 特別手当 | 3 | Denser spawns, less forgiveness |
Do not queue Hazard Pay to “feel cool” on a property whose Normal clear still dies to four-stack misses. Stabilize Fail A habits first.
Co-op-specific failure modes
Thermal helps confirmation; it does not pause the concurrent counter. Partners should:
- Call camera IDs before reporting
- Avoid duplicate false reports on the same maybe-silhouette
- Assign one officer to audio cue response while the other maintains rotation
Room-code friction from early Mixed reviews wastes real-world time, not in-game meters—but a tilted duo makes Fail B more likely once the shift finally starts. Cross-play notes: Cross-play.
After a failure — five-minute postmortem
- Which meter killed you—four-stack or false budget?
- Which camera had you skipped for more than one full rotation?
- Did you report without both vision modes?
- Was audio screaming while you stared at a quiet courtyard?
- Open the matching guide before the retry: this page, Survive Until Morning, or Beginner Tips.
Property flavor, same pink slip
Sugiya clutter tempts false reports. Blue House lighting tempts hesitation. Kannonzaki distance tempts missed outdoor stacks. Y Residence theatrics tempt over-reporting props. The meters do not change—only the way you trip them. Property hubs: Properties.
Reminder from the association handbook tone
Training text across the series also notes that some anomalies fail you faster if left idle too long, and that monitor help text can be re-opened during a shift. Use in-game help when panic rises; this wiki reinforces the same desk rules with longer explanations.
Stay inside the budgets until 05:00. That is Mission Success. Everything else is DLC for your pride.
Frequently Asked Questions
Quick answers for Japan Stigmatized Property 3 shifts.
How many missed anomalies fail a JSP3 shift?
Four concurrent active anomalies left unreported end the mission.
How many false reports are allowed?
Five on Normal difficulty, three on Hazard Pay (特別手当).
Do false reports and missed anomalies share one meter?
No. They are independent fail conditions. You must respect both budgets.
Can co-op prevent mission failure?
Co-op adds coverage and thermal confirmation, but the same four-miss and false-report rules still apply to the shared shift.